TRI to keep it WILD - Raising funds for Nature Conservancy of Canada

Sunday, March 2, 2008

Bending the stems


With the bow and stern forms now cut out with the clamping holes I was able to go about bending the stems this past weekend. As described in Canoecraft, I set up my makeshift steamer using a 3" dia. pipe a few inches longer than the wood strips used to make the laminated stems and the electric kettle from the kitchen. There are two sets of stems - the inside stems and the outside stems. The inside stems are made up of 3 strips of 1/4" x 3/4" Port Orford Cedar. It is these that the WRC strips will be attached to at the bow and stern of the canoe. The outer stems are made of 3 strips each of 1/4" x 7/8" Cherry that seal the end of the WRC strips once they have been laid on the forms and they also provide some impact resistance for the canoe.
I soaked the strips over night to soften them up, then stuck them in the PVC pipe in the morning with nozzle of the kettle inserted in the lower end of the pipe. The top end was plugged with rags and the kettle set to boiling with the switch held on. Each set of strips were steamed for about 25 minutes then removed and quickly wrapped around the forms. While I held the stems against the forms, Tracy tightened the clamps. I was amazed at how easily the stems bent. All in all it was a very simple process and it seems to have worked out well.

Tuesday, February 19, 2008

Creating the Station Molds


A big chunk of work towards finishing the canoe is almost done. Over the last four weeks or so I have traced the station molds from the full-size plans ordered from Bear Mountain Boats onto plywood, then rough cut them with a jigsaw and sanded them down to the final shape.

I picked up a couple sheets of 1/2" plywood from Home Depot and had the guys in the lumber yard cut them into 15 pieces to fit each of the molds. It took them about 5 mins and saved me an hour or two.

The lines for the molds come on a single sheet of paper as half stations and need to be mirrored about the centerline to produce a complete mold. First, a centerline is drawn on the plywood perpendicular to the straight factory cut bottom edge. Then the plans are taped onto the plywood sheet lining up the centerlines. Two sheets of carbon tracing paper are placed back-to-back and slid between the plans and the plywood so that when the mold lines are traced with a ballpoint pen the line shows up on the plywood as well as on the back of the plans. Then the plans are flipped over to trace the other half of each station mold from the line on the back of the plans. I did a couple of these a night and it was a slow process. Altogether there are 13 station molds and 2 stem molds. Since the canoe is symmetric front to back the station molds come as six pairs plus the centre mold and the two stems are also identical.

As I started out tracing the patterns, I realised that the plywood sheets had a small amount of warp in them that could be magnified on the boat. My first thought was to scrap the plywood and go back and get some MDF (medium density fibreboard) that I have read is easy to work with. In the end though, I checked the forum at bearmountainboats.com and found some other builders have had this same problem, which was easily fixed by screwing on a stiffening rib to each mold. Since the warp is quite small I have decided to go this route and otherwise these boards are behaving quite well.

With each of the station molds traced out, I set about cutting them out with my new Bosch jigsaw, cutting a millimetre or two off of the line. This went a lot quicker than I had thought it would and soon I was on to the sanding. I knew that using the random orbit sander to smooth the edges of the molds and bring them down to the line was not ideal, but I thought I could do a reasonable job with it. I quickly found out that it would not give me very good results. It was almost impossible to get a square edge and I was ending up with wavy edges as well. I have read that the best way to sand down the edges is to put a sanding disk on a table saw and place the molds flat on the table to get a perfectly square edge. Since I wasn't about to go buy a new table saw, I devised a little jig to hold my random orbit sander vertically offset from my work bench by about half an inch. The sander is designed to be held in the hand, not mounted on anything so it was a bit tricky, but an hour of cutting out plywood brackets and screwing them together produced a really solid mount that held the sander vertically without any wobble. Then the molds could be placed flat on the bench and run against the sander. In the end I think this has saved a few hours of headache and it has produced really good results. With a 60 grit sanding disk each station mold can be brought down to the tracing line in a few minutes. Keeping the edge of the mold moving against the sander produces a nice fair curve. The stem molds were made in same fashion and also have 14 1-1/2" holes spaced on 2" centres around the outer edge to provide a place for clamping the steam bent stems. Luckily, I just met our neighbour, David, from across the street who has a garage full of power tools including a drill press. He is working on building some custom made speakers for his house and he was kind enough to let me use the press.

This whole process produced a huge amount of sawdust. I have hung some plastic sheeting down the middle of the garage I am using as a workshop to try to keep most of it off of my neighbour's stuff.

Sunday, January 27, 2008

Winter Happenings


We had a great weekend at Royal Gorge this January with Scott's parents. Also, the winter plants on our deck are doing great! It's nice to have some color with all the gray weather we've been having :)

Monday, January 14, 2008

Ripping the boards and milling the strips


It was a big weekend of work on the canoe. A while ago Andy Orsini, a buddy of mine from Santa Cruz and a fine woodworker/ wicked surfer, convinced me that it would be fun to buy the Western Red Cedar as boards and mill it into strips myself. So this past weekend I persuaded him to help me out and we headed over to Jackel Enterprises in Watsonville with a 12 ft long 2x12 plank strapped to the top of my VW Rabbit to pick out some boards. The guys at Jackel were friendly, helpful and meticulous about their grammar. (I was corrected to say "How many boards do you have?", not "How many boards do you got? oops.) We picked out the finest 18 ft boards of WRC they had; one 2x6 and the other 2x10. We also bought a 2x6 x 10 ft board of Port Orford Cedar for the inside stems. Port Orford Cedar is actually a cypress that grows in Oregon, but it is a beautiful and durable and lightweight wood. We strapped the 18 ft boards back on top of my 14 1/2 ft long car and headed back along hwy 1 to Andy's shop in Capitola. Now the fun began.

Turning 2 boards into 78 1/4" x 7/8" strips involves a lot of milling. From our careful pre-calculations we determined that we would get 80 strips out, but we lost two due to a couple early mishaps. After practicing with making the stem strips and the two early mistakes things went quite smoothly, most of which I can thank Andy for. WRC handles very well. There was very little fraying or chipping running through the machines and we ran it through a lot of machines. For a while it just seemed like I was turning money into sawdust.

Since we wanted end grain strips we cut the quarter sawn boards into smaller 1" x 2" boards using the table saw and then cut 5 strips exactly 9/32" wide and 7/8" high out of each of these. All of the strips were numbered in order as they came off the table saw so that I will be able to match the grain on both sides of the canoe as I lay the strips on the mold. These 9/32" strips were then fed through the planer once on each side to take off 1/64" on each side and bring the final width of the strips down to 1/4". (We were careful to renumber the strips as they came off the planer as well!) That was it for Saturday.

Sunday I headed back over the hill to Santa Cruz to finish up. It was taking a little longer than we had planned, but so far turning out really well. Today we routered the bead and cove edges into the strips so that they will fit snugly together without spaces. After setting up the table, router, feather boards, making dozens of minuscule adjustments and going through several tests on scrap pieces we finally got started on the last step in this process: pulling the 78 strips through the router once on each side. For those who haven't done the math, that works out to 2808 ft of wood strips! With the router throwing cedar sawdust in the air it felt like I was trapped in a very dry but sweet-smelling snowglobe and the wood just kept coming.

It was 9pm on Sunday night that I finally dropped Andy off at home and headed back over the hill to Mountain View with the wood once again strapped to the top of the car, this time a considerably lighter load. The strips turned out fantastically and I learned a whole lot about wood and woodworking from Andy. It was a great weekend for me, unfortunately it was kind of like work for Andy. I owe him a pair of hands for one of his jobs in the future.

Next up for the project: tracing and cutting out the station molds.

Sunday, January 6, 2008

Cedar Strip Canoe Project Has Begun!

This is the first post to chronicle the building of my first wooden boat. It will be a 15' cedar strip canoe made from 1/4" x 13/16" strips of Western Red Cedar encased in a single layer of clear fibreglass for rigidity and waterproofing. I bring almost no experience to this endeavour, but I from what I read, this type of project is doable for someone of my level. The plans that I have ordered from Bear Mountain Canoes in Peterborough, Ontario suggest that is should take roughly 200 hours. I'm banking on about double that for myself. The design is called the "15' Bob's Special" and the lines for this boat were lifted off of an old Chestnut design. I like it for its classic look and size.

I like the size for a couple of reasons. First, the finished weight is only 45-50 lbs, which I should be able to portage relatively easily and Tracy and I like to travel light. Second, it is about the only design that I could build in my limited work space (half of a garage). I have read that a builder should plan for about 3 ft of space on each side of the canoe as it is being built. My space is only about 20 ft long by 7 to 8 ft wide. The canoe beam is 3 ft, so I will be a little bit squeezed and I'm hoping things will work out.
Things have started out well at least. I spent a couple weekends putting together the strongback, from 3/4" sheets of plywood and lots of screws. The strongback is the rigid bench that supports the station molds around which the strips are layed to make the hull. There are couple of photos of the all but completed strongback above. The first shows it lying upside down and second right side up. All that remains to be done for the strong back is to screw on the top boards and anchor it to the floor. You can also see in the picture how small the workspace is. I used this first part of the project to gain some confidence and I am fairly pleased with how it came out.


Thursday, November 29, 2007

Vegas Thanksgiving


This year for the Thanksgiving weekend we made the traditional pilgrimage to Las Vegas, where we took part in all the American holiday customs - gambling, drinking, rating the cocktail waitresses, SUV driving (not while drinking) and generally living life to excess.

The weekend was kicked off by staying in an extravagant hotel (the Wynn). Here we gave thanks for a TV in the bathroom and remotely controlled drapes.

Next we cruised the strip and were thankfull for all the moving sidewalks so that we wouldn't tire out between meals.

When it came time to see the 'O' show at the Belagio we were grateful for the internet and advanced ticket sales as the show was sold out. If we hadn't been able to get in I guess we would have had to go to the topless revue. I know that is the show Tracy was rooting for. The 'O' show was simply amazing.

Afterwards we managed to find the only $5 blackjack table on the strip (Treasure Island), but Vegas was not really very giving this holiday. Oh well, we were still thankful for the "free" drinks.


Of course, no Thanksgiving holiday is complete without eating excessive amounts of turkey and stuffing. We did it Vegas style at the Wynn buffet at 8am the next morning. Where else can you have a thanksgiving meal that starts off with bacon, eggs, french toast and prime rib before moving on to the sushi, seafood, pastries and dessert before digging into the turkey with all the fixings? And of course there was another round of dessert afterwards.


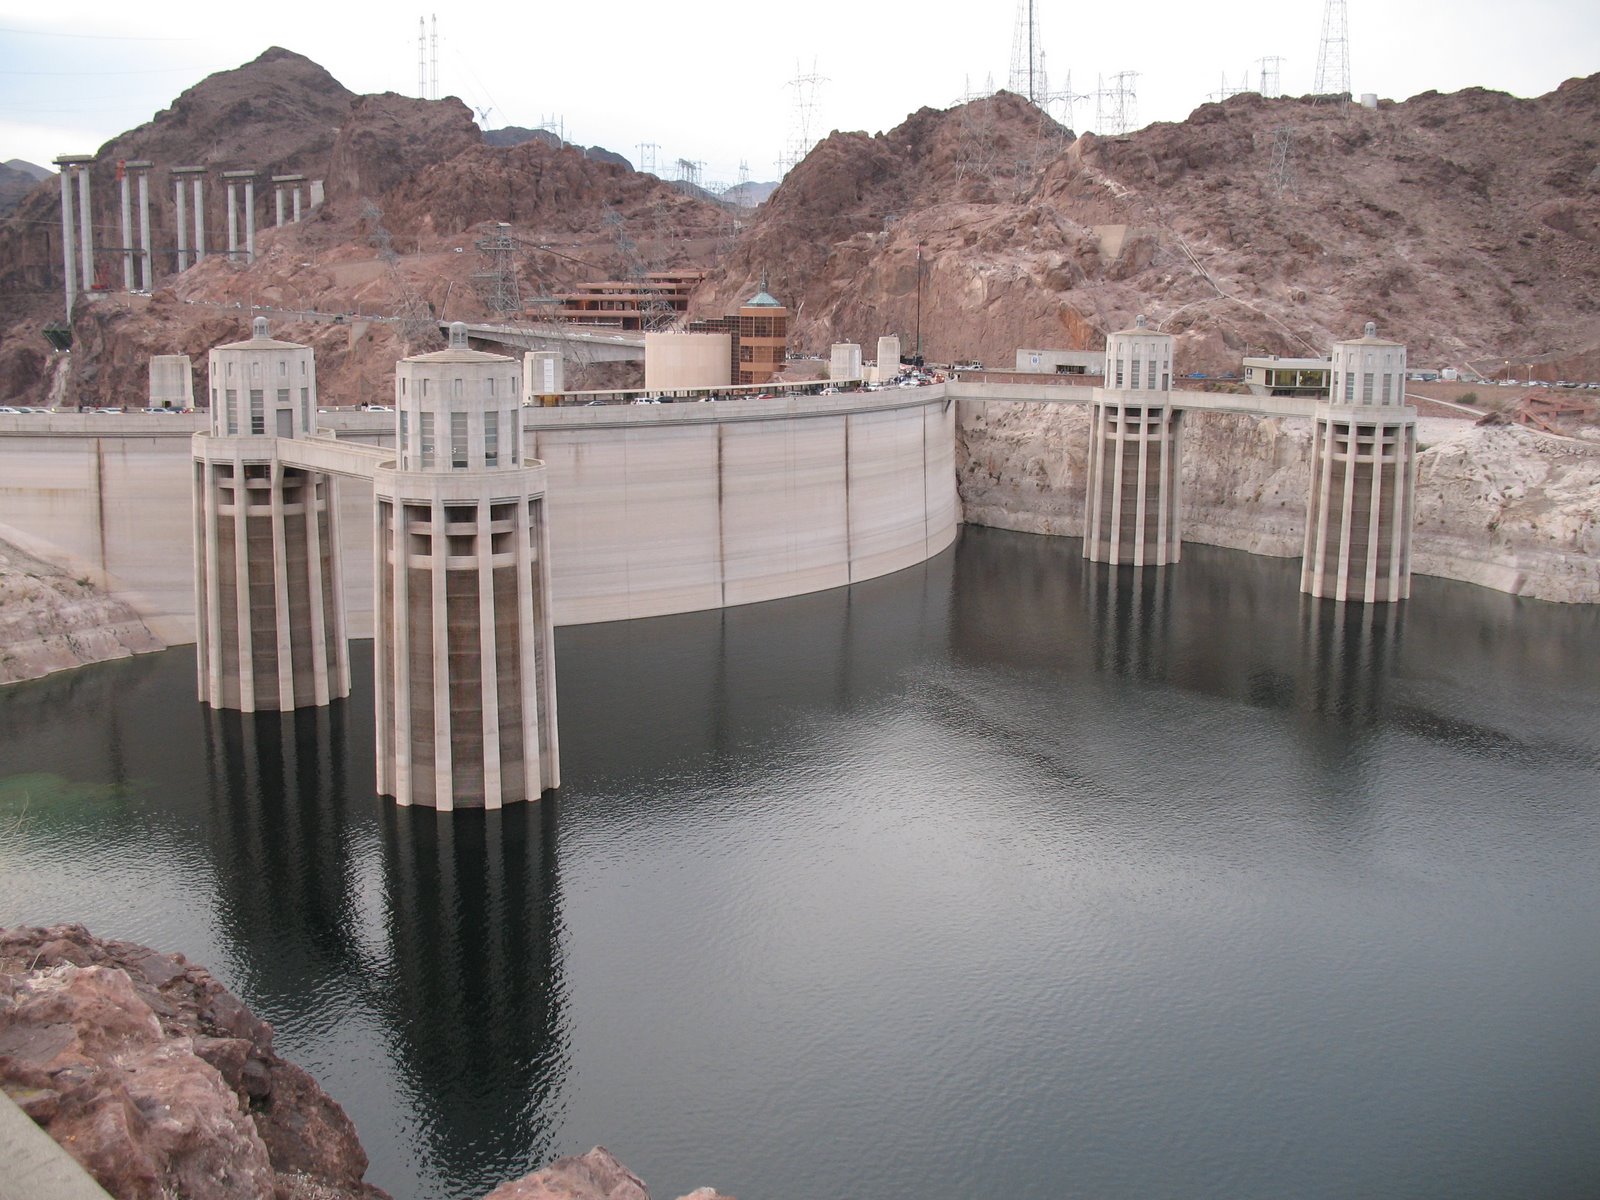
Lucky for us the economy car we requested from Hertz was not available so we were forced to roll our expanded bellies into a much larger Ford Escape SUV for the trek out to the Hoover Dam and on to the Big Ditch.


Things to be thankful for here were abundant ... plush seats and automatic transmission in our American automobile while we waited in traffic for a couple hours just to get to the Dam. On the Dam(n) tour we were thankful for deodorant and fast elevators as we shared our unique eleven dollar experience with 50 of our more or less overweight counterparts.

Our all American holiday continued on at the largest attraction of them all - the Grand Canyon. Whoever invented gore-tex and thermal underwear is really deserving of a big Thanks, with 15deg F temperatures over night and 20 mph winds as we started our hike into the Ditch before dawn. 19+ miles later we were glad not to be struggling out in deck shoes and tight jeans like most of the other miserable looking would-be hikers who were trying to make it back to the rim before dark.


That pretty much wrapped up our festive Thanksgiving holiday and as we made our way back on to the plane for our flight home we were thankful for living in a state where it is illegal to smoke in public places.


Thursday, November 8, 2007


In October I had some close encounters with nature :) The raccoon and his friend came onto our deck and the hawk was outside my classroom door at school.